
Renovation Process
This renovation took almost 2 years (about 3 years with planning). I’ve never had anything test my patience or mental strength quite like this. What felt like never ending late nights after a full time job, this project really pushed me and everyone who helped to our limits.
For never taking on any type of renovation before, I couldn’t be more proud of how it turned out and hope you enjoy learning a little bit more about it!
PLANNING

I searched for over 10 months across the entire U.S. looking for the perfect airstream

Until I found exactly what I was looking for in Salt Lake City.
RENOVATION BEGINS

The seller had started the major demo and restoration of the frame. I started clearing the rest out right away.

First real project was removing the original roof vents and installing the new ones.
This was honestly pretty scary. First time being on top of the Airstream, it’s a really thin aluminum shell and every move feels like you could break the whole thing.

First time blue taping the layout! The layout was actually almost spot on compared to the final version.

Me and my brother, Alex, in the service window cutout by our metal guy
This was something I knew not to try and attempt by myself.

3-D MODEL TIME!
The cabinet maker created this and it was the first true image that captured the vision I had for so long

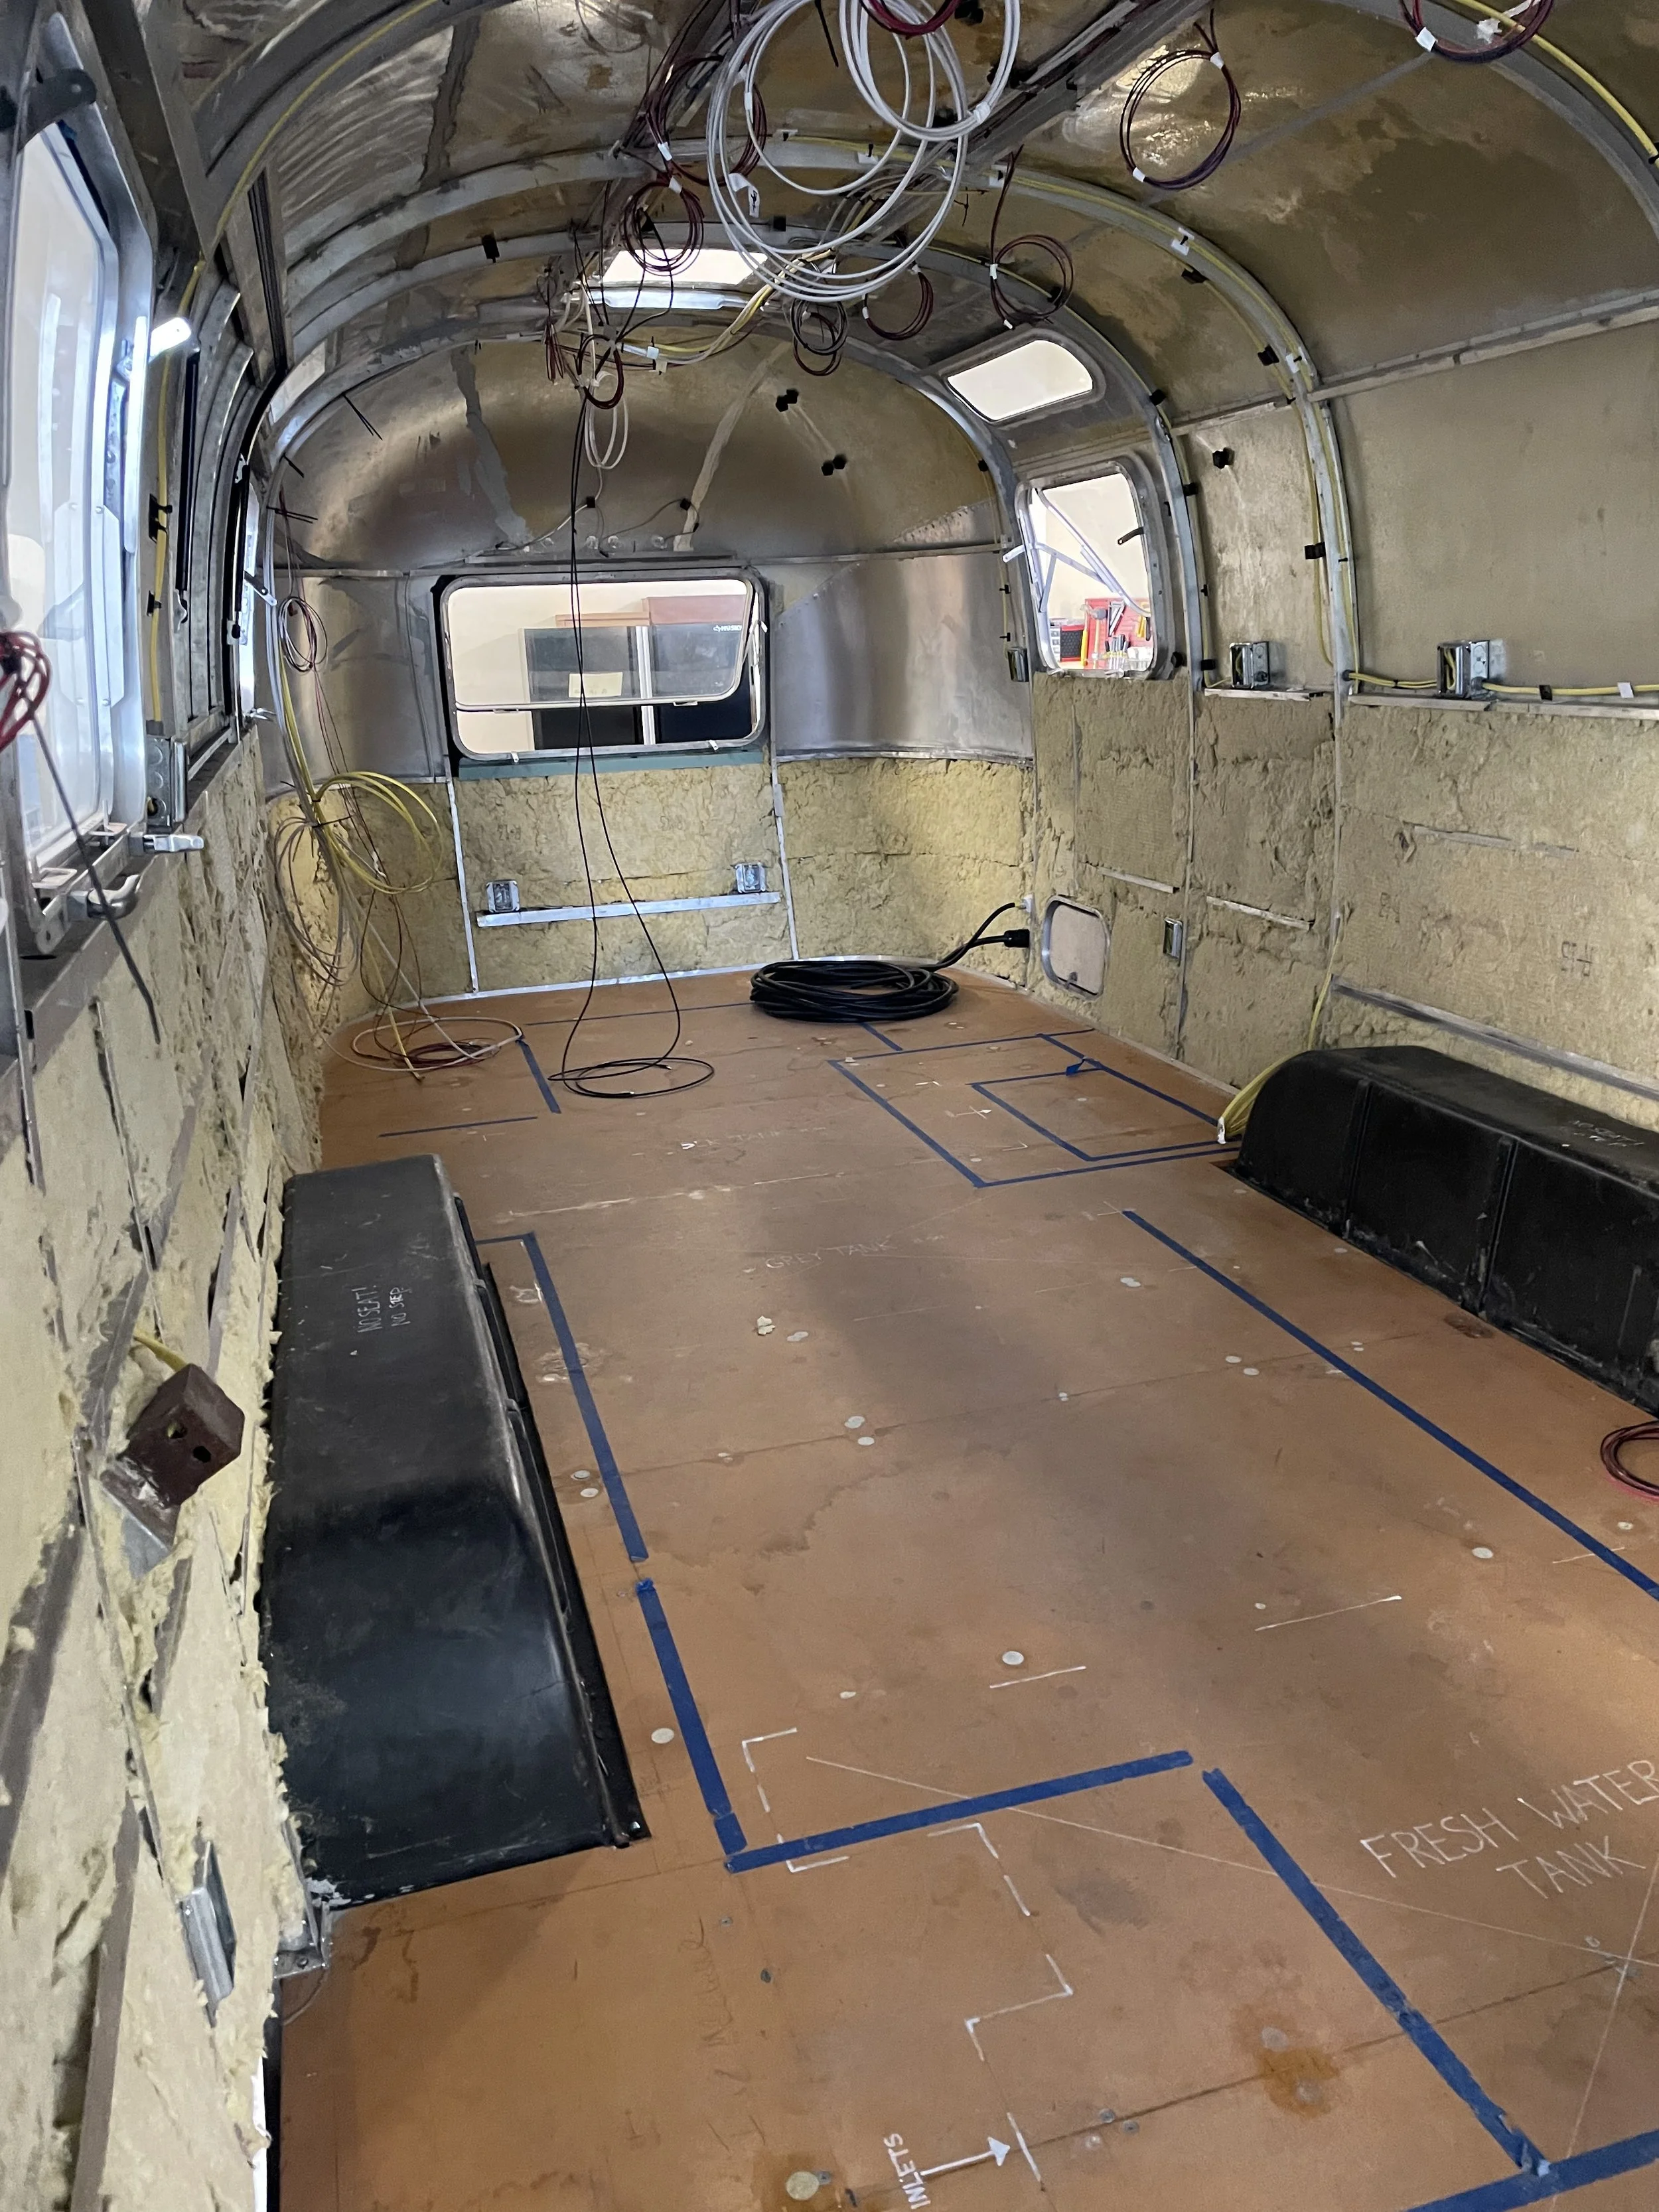
Electrical Going In
This was another project I knew I wouldn’t be comfortable with. Didn’t want to chance burning down everything I was building!
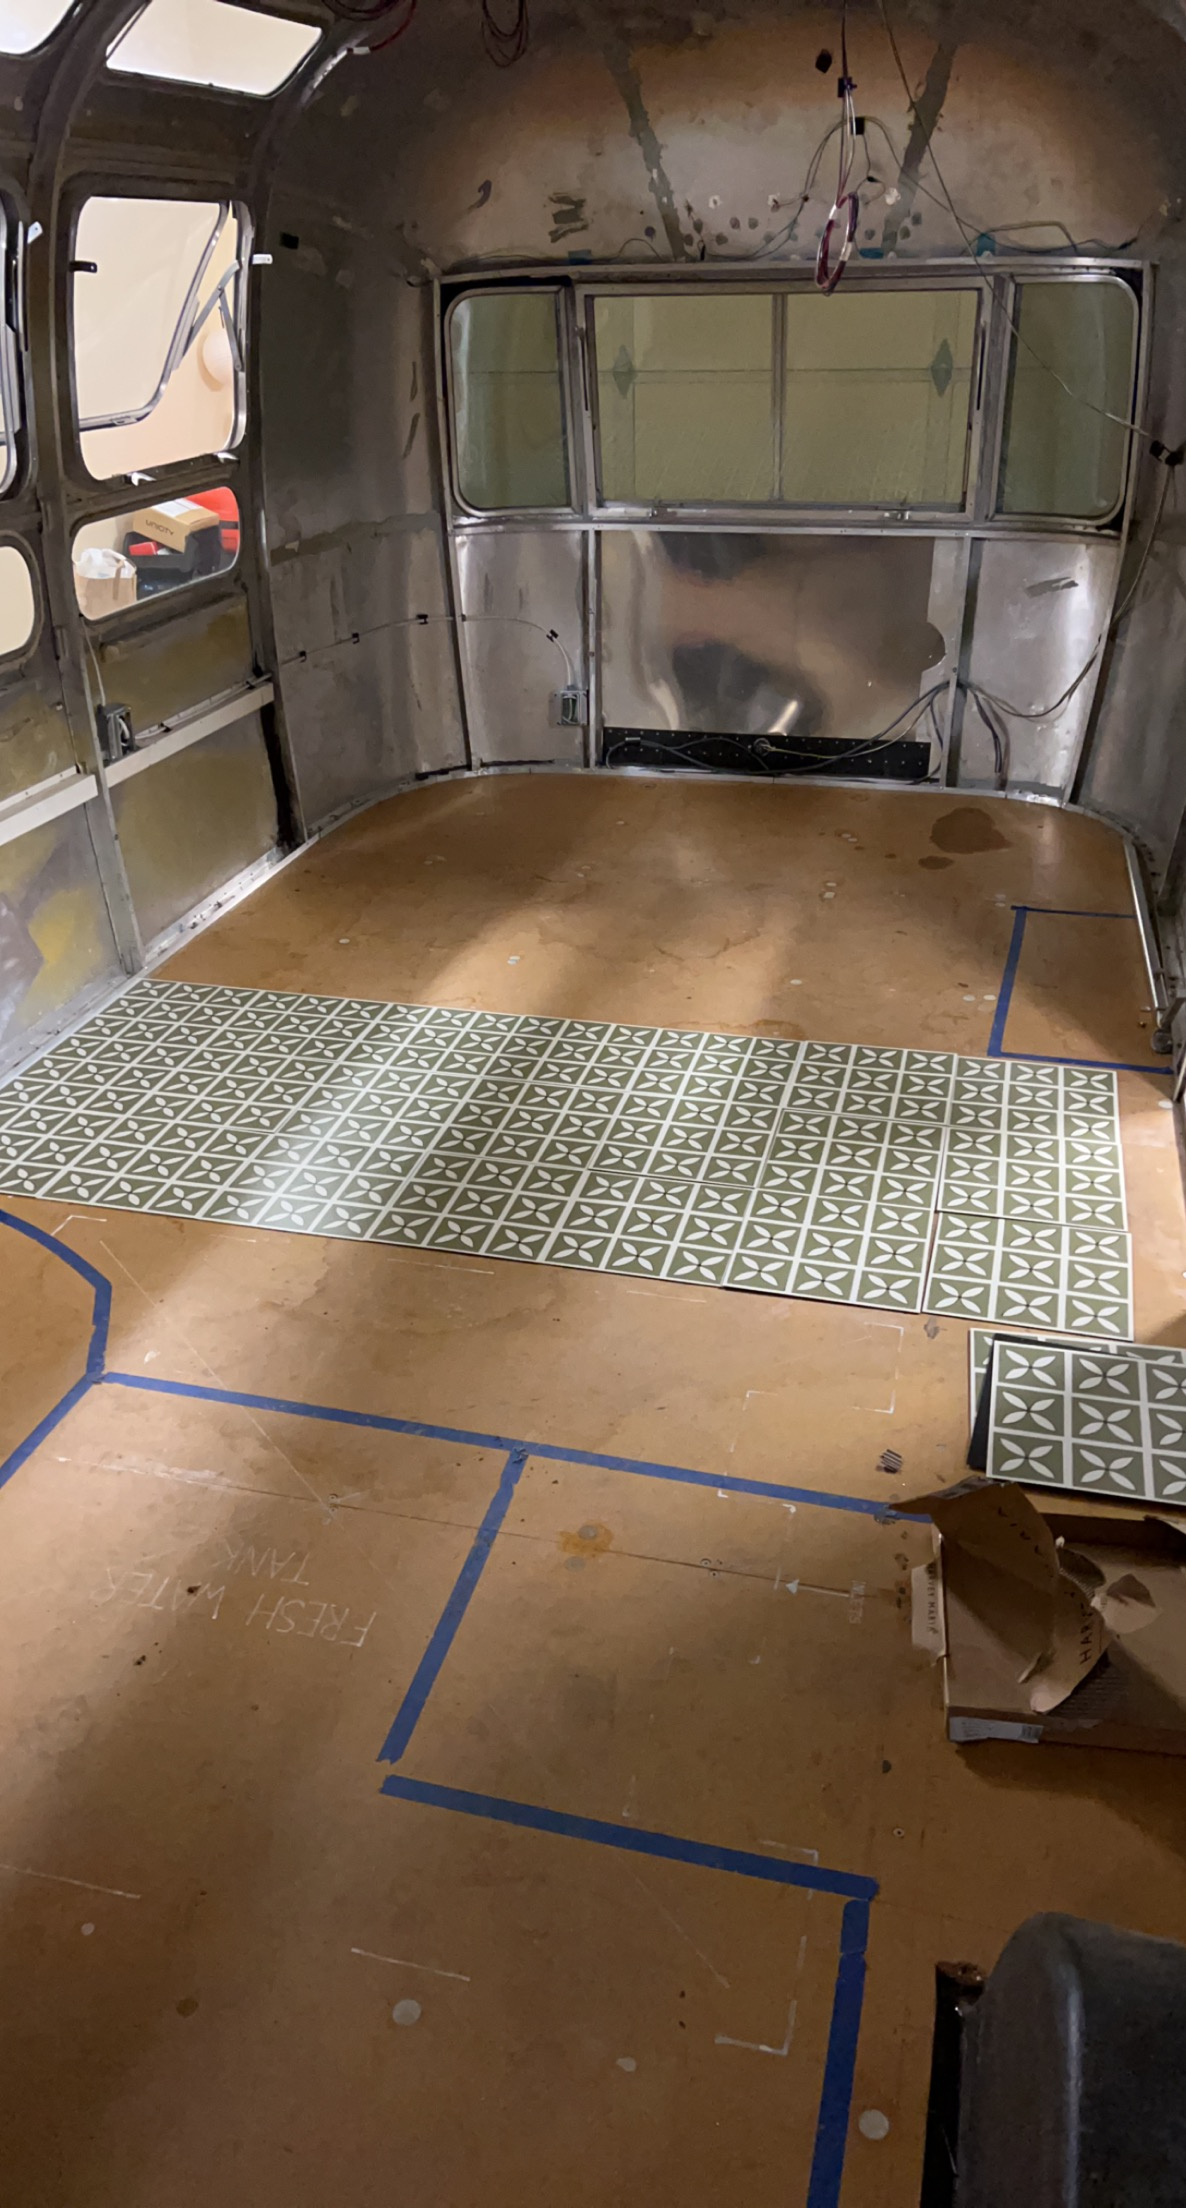
Flooring came in and I was excited to lay it down and get a feel for how it looks in the trailer…I loved it then and still love it now!
This was about halfway during the insulation phase. It took so many cans of glue and we had to wear masks the entire time so it felt good to get done with this stage.

Next up was the interior walls and if there was ever a point in the renovation I wanted to quit it was putting these up.
This was hands down the hardest and most time consuming part of the renovation.

A look at the plumbing layout and the mess that was created.
I tried to keep it as clean as possible but had so many projects going on at once it was tough.

Flooring going down really changed the whole feel of the trailer. This was the first time I felt like it was finally getting close!

Appliances and first set of cabinets were in, giving a good feel for how much space there was going to be.
I was worried the space would feel tight with everything in but it actually feels very roomy, even now being fully done.

Once the counters went in, even without the laminate, it really started to look like the coffee shop I had envisioned.

Finally Testing Espresso!

Wash time just outside the storage unit to get prepped for polishing.

Cabinet fronts went on with the curved tambour and it looks stunning! The cabinet guy, Ty Howard, knocked this out of the park!!

Polishing process. After trying this myself, I found out quickly I didn’t have the time or know how to get this done the right way. Luckily I got connected to some amazing people who were able to get in done quickly.

The last finishing touch on the exterior was the decals. I was able to design exactly what I had in mind and had a local decal company put it all together. It turned out exactly how I wanted it!
